
Before
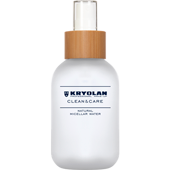
The skin should be cleansed before applying any product. Preferably use the Clean & Care Natural Micellar Water 120 ml.
The skin should be cleansed before applying any product. Preferably use the Clean & Care Natural Micellar Water 120 ml.
Step 1
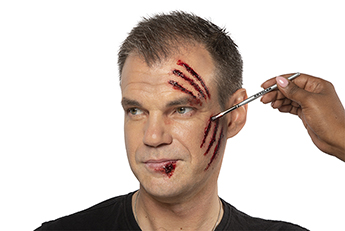
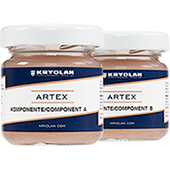
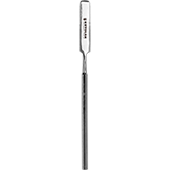
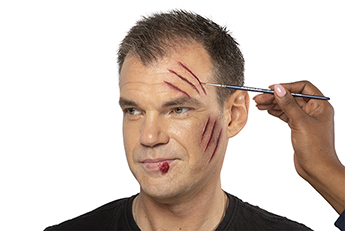
Artex contains two components: A and B. Mix both parts in a 1:1 ratio and use different or cleaned spatulas. On the clean skin, apply the mixture with a Make-up Mixing Spatula. Layer the mix to build up the corresponding wound. With the end of the spatula, you can draw in scratches.
Artex contains two components: A and B. Mix both parts in a 1:1 ratio and use different or cleaned spatulas. On the clean skin, apply the mixture with a Make-up Mixing Spatula. Layer the mix to build up the corresponding wound. With the end of the spatula, you can draw in scratches.
Step 2
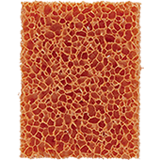
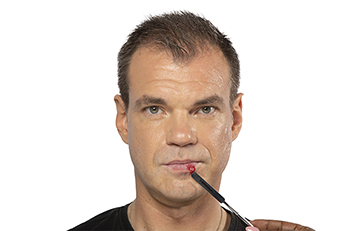
Flocking Color Additive 50 g (bright red) is a product to color silicones so that the color does not transfer even after touching; it also gives a more natural impression of the color from within the silicone. Small amounts of Flocking Color Additive mixed in Artex will cause a delicate veining to be simulated or give an impression of undertones and color variations in the skin complexion. Apply this mixture to the lips with a spatula.
Flocking Color Additive 50 g (bright red) is a product to color silicones so that the color does not transfer even after touching; it also gives a more natural impression of the color from within the silicone. Small amounts of Flocking Color Additive mixed in Artex will cause a delicate veining to be simulated or give an impression of undertones and color variations in the skin complexion. Apply this mixture to the lips with a spatula.
Step 4
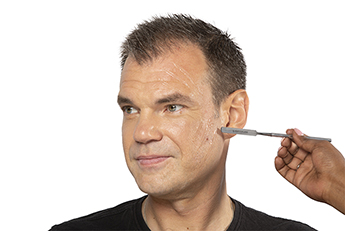
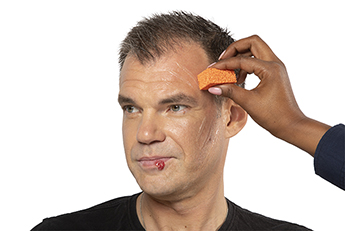
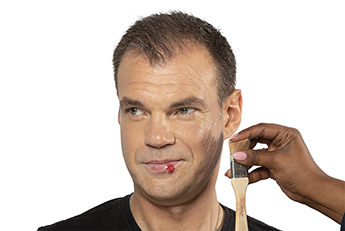
Now, use the tips of a chip brush to color the skin surrounding the wound. Repeat the process if necessary.
Now, use the tips of a chip brush to color the skin surrounding the wound. Repeat the process if necessary.
Step 5
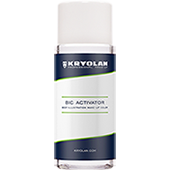
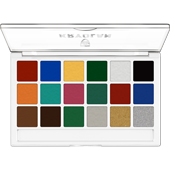
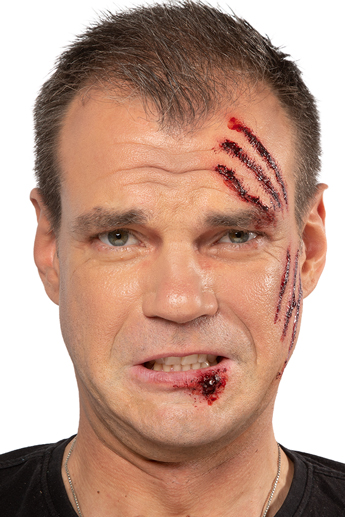
Color the inside of the wounds/cuts with 080 of the Body Illustration Make-up Color Set 18 Colors (Bright) and BIC Activator.
Color the inside of the wounds/cuts with 080 of the Body Illustration Make-up Color Set 18 Colors (Bright) and BIC Activator.
Step 6
In this step, color the eye area and the edges of the wounds with 079 from Body Illustration Make-up Color Set 18 Colors (Bright) and BIC Activator.
In this step, color the eye area and the edges of the wounds with 079 from Body Illustration Make-up Color Set 18 Colors (Bright) and BIC Activator.

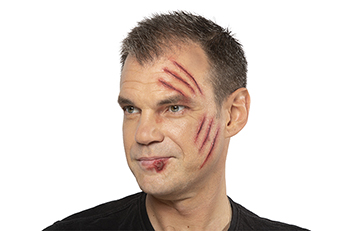
Step 7
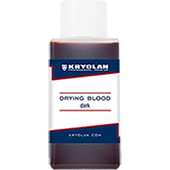
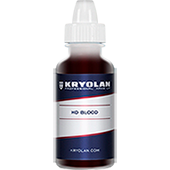
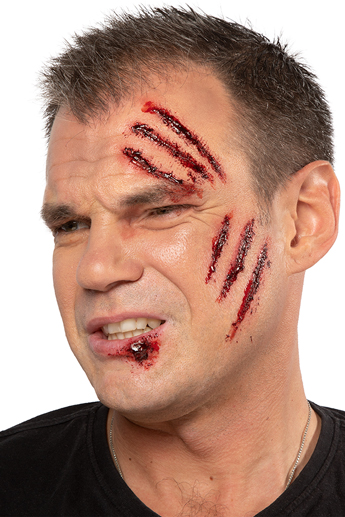
Fill the wounds with HD Blood 15 ml (dark venous). The flow rate is slightly slower than real blood. That's why it's great to work with.
Fill the wounds with HD Blood 15 ml (dark venous). The flow rate is slightly slower than real blood. That's why it's great to work with.