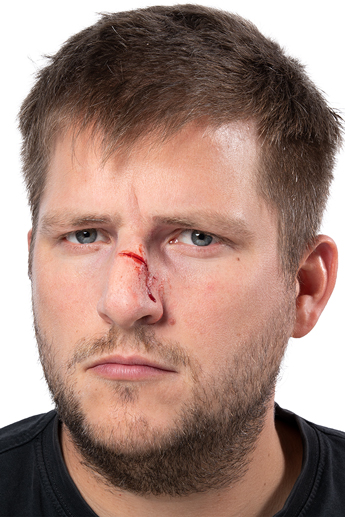

Before
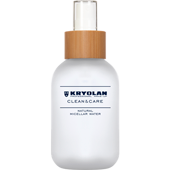
Cleanse the skin with Clean & Care Natural Micellar Water 120 ml to remove impurities and oils.
Cleanse the skin with Clean & Care Natural Micellar Water 120 ml to remove impurities and oils.
Step 1
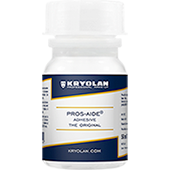
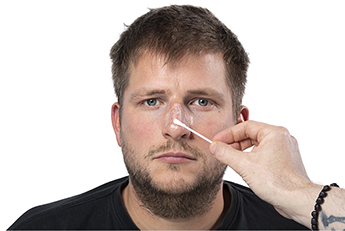
Using a cotton swab, apply Pros-Aide - The Original - 50 ml in a thin layer to the bridge of the nose. This layer must become transparent before proceeding to the next step.
Using a cotton swab, apply Pros-Aide - The Original - 50 ml in a thin layer to the bridge of the nose. This layer must become transparent before proceeding to the next step.
Step 2
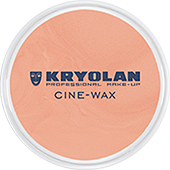
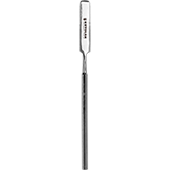
Using a Make-up Mixing Spatula, transfer three pea-sized amounts of Cine-Wax 10 g (medium) from the container. Roll the amount between your fingers and palms to add warmth to the wax. From a combination of fingers and a spatula, smooth the wax onto the bridge of the nose so that the edges blend seamlessly into the skin. Create a 3D cut in the center of the wax over the bridge of the nose.
Using a Make-up Mixing Spatula, transfer three pea-sized amounts of Cine-Wax 10 g (medium) from the container. Roll the amount between your fingers and palms to add warmth to the wax. From a combination of fingers and a spatula, smooth the wax onto the bridge of the nose so that the edges blend seamlessly into the skin. Create a 3D cut in the center of the wax over the bridge of the nose.

Step 3
Using the corner of a Make-up Sponge Angled, apply a layer of Pros-Aide - The Original - 50 ml over the applied Cine-Wax 10 g (medium) and around the edges.
Using the corner of a Make-up Sponge Angled, apply a layer of Pros-Aide - The Original - 50 ml over the applied Cine-Wax 10 g (medium) and around the edges.
Step 4
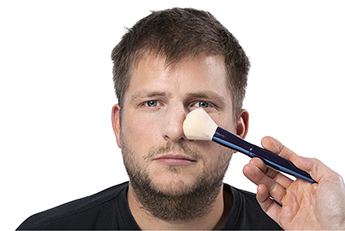
Set the design with Translucent Powder 60 g (TL 1) and a soft powder brush.
Set the design with Translucent Powder 60 g (TL 1) and a soft powder brush.

Step 5
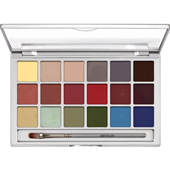
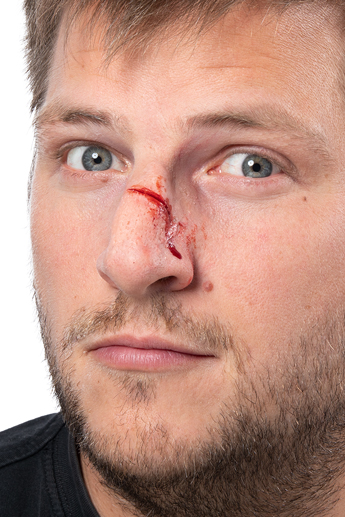
Take the colors 817 G, Youth Red, 081, and 047 from the Coloring Vision Palette 18 Colors (Effects) and transfer them to a Make-up Mixing palette. First, mix 817 G and 081 and apply them to the wax with a pointed, synthetic brush. This is to replicate a natural skin cast. Youth Red is then added to the cut. 047 goes around the cut and in the inner corner of the eye. Let the colors blend with the wax and skin by blending them with your fingers.
Take the colors 817 G, Youth Red, 081, and 047 from the Coloring Vision Palette 18 Colors (Effects) and transfer them to a Make-up Mixing palette. First, mix 817 G and 081 and apply them to the wax with a pointed, synthetic brush. This is to replicate a natural skin cast. Youth Red is then added to the cut. 047 goes around the cut and in the inner corner of the eye. Let the colors blend with the wax and skin by blending them with your fingers.
Step 6
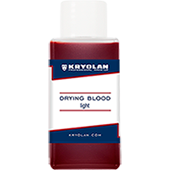
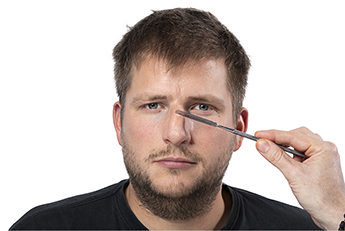
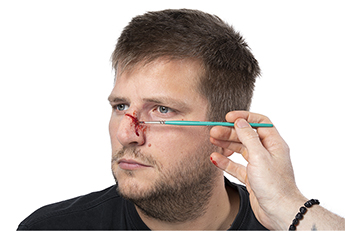
A small amount of Drying Blood 50 ml (light) is placed in the hollow of the incision. Then use the hooked end of a sculpting tool to give the wax a skin-like surface.
A small amount of Drying Blood 50 ml (light) is placed in the hollow of the incision. Then use the hooked end of a sculpting tool to give the wax a skin-like surface.