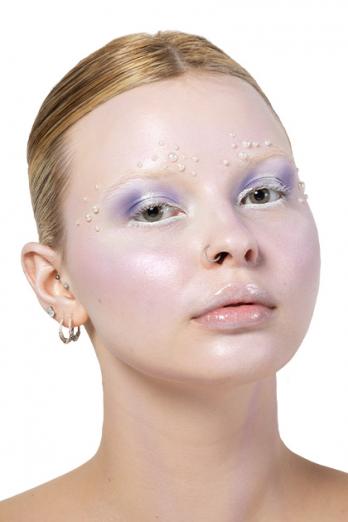
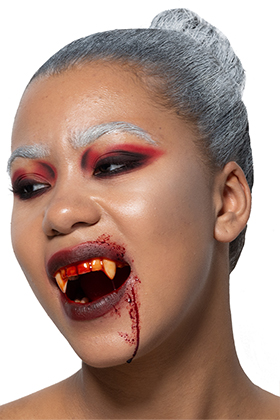
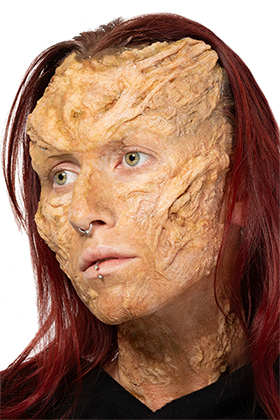
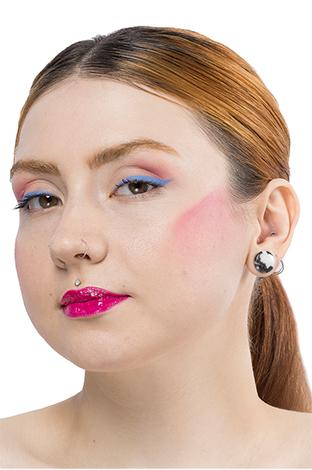
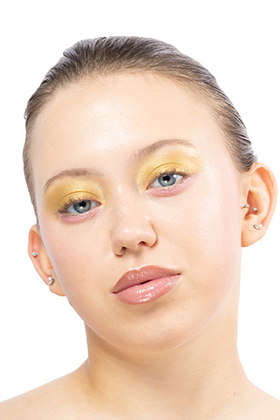
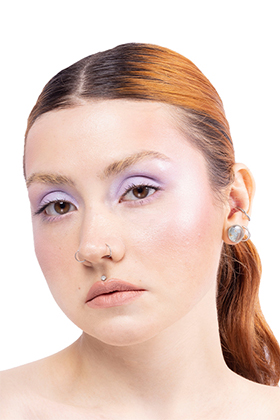
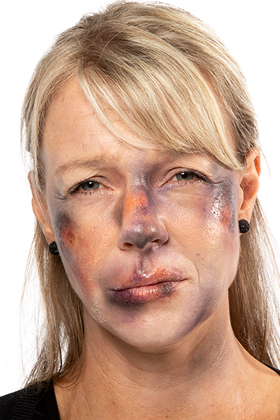
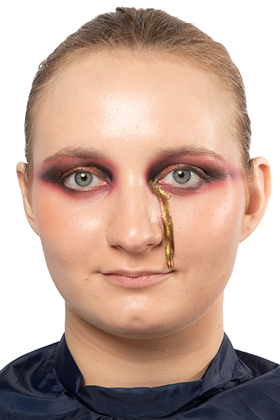
How to

Bald Cap

Step 1Prep hair to lay flat under the bald cap. For this, you will need to do a hair wrap. Brush through damp hair to ensure it is smooth and untangled; this will help to make the hair lay flat. Take a tail comb to divide the hair into a middle parting. Take one side section and sweep it around the front of the forehead using GF-Qat 30 Strong 100 ml. This will allow you to secure all the hairs tightly and, once dry, hold the hair in place. Make sure the hair is smooth behind the ear. Join the smoothed section into the second section and follow around the head to overlap the first wrapped section. Use GF-Qat 30 Strong 100 ml through the second section wrap to hold in place. Once wrapped, apply light heat from a hairdryer to set. For this look, the bald cap that was used is a Glatzan Bald Cap Uncolored large. This bald cap is perfect for a natural finish with the edges. To apply the bald cap, place your hands inside and gently release any creases. This also helps to slightly warm up the bald cap, allowing it to be more flexible, stretchable, and make the application easier and avoid any tears.
Step 2For this look, the bald cap that was used is a Glatzan Bald Cap Uncolored large. This bald cap is perfect for a natural finish with the edges. To apply the bald cap, place your hands inside and gently release any creases. This also helps to slightly warm up the bald cap, allowing it to be more flexible, stretchable, and make the application easier and avoid any tears.
Step 3Fit bald onto the head from front to the back of the head and adjust into place so that it fits comfortably and tightly. Ask your model to place their index and middle fingers into the front of the bald cap. This will hold it in the correct place while you pull it down over the back of the head. The bald cap should be stretched over the head to avoid wrinkles or folds over the hair or hairline.
Step 4Once in place, you can either take a cotton bud with Acetone 100 ml and melt it from the center of the forehead to the end of the bald cap or carefully cut through the center up to your chosen edge line. This will allow the face to be exposed and leaving you a flap of Glatzan to apply adhesive under.
Step 5It is advisable to fix the front of the bald cap first. Apply Silicone Adhesive NEO Strong Bond 50 ml onto the front of the hairline, leaving the bald cap's edge free from the adhesive for blending into the skin.
Step 6Next, using Acetone 100 ml and a cotton bud, melt away the Glatzan around the ears and pull the ears through the bald cap. Glue the edges down using the Silicone Adhesive NEO Strong Bond 50 ml as before, ensuring the edges are smooth and secure.
Step 7To attach the back, it is advisable to ask the model to look down, effectively stretching the skin and bald cap. This will ensure that possible wrinkling or folding of the Glatzan is minimized. Apply the Silicone Adhesive NEO Strong Bond 50 ml around the hairline and pull the bald cap down over the application smoothing it into place as you go to prevent wrinkles.
Step 8Once the glue has set and the bald cap is secure, begin to dissolve the edges of the bald cap by taking a cotton bud soaked with Acetone 100 ml and blend away any unglued edges into the natural skin for a seamless finish. Once this is done, you can then stipple Pros-Aide - The Original - 50 ml around the edges and over the bald cap. This strengthens the application and allows a natural texture. Perfect for applying color once dried.

Used Products